Sunday, April 29, 2012

Zipper nails

You can do these with any two shades of the same color. I, of course, chose pink. :)
They're really easy and look pretty cute, I think. Here's a tutorial!
Light pink: Pure Ice's Love
Dark pink: Butter London's Primrose hill picnic
Black: Sinful Colors Black on Black
Top coat: Revlon 

Saturday, April 28, 2012

How to remove your nail polish with tin foil

So I've been seeing this technique done around the nail blogs for a while and I wanted to try it out. Its a way of removing your nail polish with nail polish remover soaked onto cotton placed on your nail wrapped in tin foil.


These where my beautiful Wizard of Oz nails after two days at work :( My job is brutal on my nails.


My supplies consist of ten tin foil pieces, ten cotton pieces and some nail polish remover I was using pure acetone I got from Sally's. I only use pure acetone when I've got a big job to to just because it dries out my skin so bad.


What I did was soak each cotton pad in remover place it on the nail and then wrap it in foil so that the remover doesn't evaporate. I left the foil on for 5 minutes and that seemed to work for me.


This is the end result after 5 minutes. It worked really well the little bit you see around my cuticles came off with one swipe of the cotton pad. I was kind of impressed actually because i didn't think it was going to work so well. This technique definitely makes life easier and i can't wait to try it when i wear sparkles on my nails because if you've worn sparkles you know its a toughy to get off!

Thanks for reading! Any requests are always appreciated!

:)
Kristy


Friday, April 27, 2012

Fire gradient nails

I tried sponging with this design and I love it!
I have this super pretty red-coral color from OPI that I've never used. So I painted my nails with it and then started looking online for an inspiration of some sort of design to use with the color.
Making fire-nails wasn't my intent, but once I started, I liked it so I just kept going with it.

They're sort of Hunger Games-esque- my version of girl on fire nails. :)


I spent just as long cleaning up my skin and cuticles as it took me to paint the nails- LOL.


I could have made the colors blend a little better, but hey- there's always a next time!

Red: OPI red-coral color (sticker came off bottle, don't know the name!)
Orange: Sally Hansen's X-Treme Wear Sun Kissed
Yellow: Sally Hansen's Insta-Dri Lightning
Small glitter: Pure Ice's Beware
Large glitter: LA Colors Color Craze #555

<3, Cassie

Wednesday, April 25, 2012

There's no place like home there's no place like home... Wizard of Ozinspired nails


These are my Dorothy inspired nails from the wizard of Oz.These took a long time to get right trying out different blues, differentdesigns, and different reds to get it to look right. I ended up not even usingthe color nail polish that inspired my whole design, but I still think youshould check it out because the color is awesome. It’s Milani Jewel FX in Red it takes a few coats and works best when youlayer it over another red and it is beautiful! I love all the Milani Jewel FXcolors! But back to my Dorothy design, like I said I tried a lot of differentdesigns to get this Wizard of Oz look right as you can tell from my nail wheellol I almost filled up the whole thing.

I ended up picking the Dorothy designeven tho I liked the yellow brick road one too. I started with a base coat of Sinful Colors Snow Me White I needed two coats.

Then I started on my stripes, I took the brush from my white striping polishand wiped it off with polish remover so I can use it in Revelon’s Colorstay in Coastal Surf. This blue was actually not light enough so I had tomix it with a little bit of white to get the stripes right.

I made two stripesdown and two stripes across on each nail and then what made it look like realplaid is I took a little non lightened blue and put it where the stripes crossed.This made the design really pop! After this I used more of my white to make awhite French tip on all of my nails so that the red would really pop.

When itwas dry I topped my tips with Malini Ruby Jewelswhich is an awesome sparkly color and put a line of black around the tip to clean up the lines a bit. I then spent a good amount of time cleaningup my cuticles because I just made a mess, and topped it with my favorite topcoat SecheVite.

I love these nailsand actually today I got what I think is the best compliment I’ve ever gottenon my nails. I was in Sally’s (looking for more polish of course) and the ladywho checked me out asked if my nails where those polish strips that you can buyand with a big smile on my face I said no these are all me! : ) There is a lotof polish on my nails and I have to work tomorrow so they may not last as longas I would want them too but I’m sure I’ll be turning heads with my nails foras long as I have them! Thank you for reading please leave me a comment withany nail requests you would want to see.
:)
Kristy


Sunday, April 22, 2012

Road map/cars mani

My sweet little girl's new obsession is toy cars. She loves them! So we got her a road map rug for her bedroom and a couple new toy cars- an ambulance and a fire truck. She definitely thinks they are the coolest.

Since I spend so much time in the nursery looking at this carpet, I, of course, drew some inspiration from it and did a road map manicure.

I did a green base and used grey to paint the windey streets. I outlined them in black and used white to paint the center stripes. Then I painted a few little cars here and there and a few buildings and houses.

The buildings and houses look a little more like blobs than I intended, haha.

The whole mani looked better in my mind than it turned out on my finger nails, but I still think it looks pretty cool and it was a good idea. :)


I love the round-about on my right hand middle finger.... hehe. :)

And the yellow car on my left hand middle finger.
<3, Cassie

Saturday, April 21, 2012

Nail polish giveaway

Vintage Musings of a Modern Pinup is giving away about $500 worth of STUFF! A lot of is nailpolish, including a custom one-of-a-kind glitter color. There are a TON of chances to win- check it out!

http://konadlicious.blogspot.ca/2012/04/konadlicious-500-awesome-3000-followers.html

Wednesday, April 18, 2012

Peacock feather inspired nail art

So I'm in the middle of planning my wedding! Its very exciting and my colors are like those of a peacock and that's is where I got my inspiration to try and do peacock nails they where easier then i thought they where going to be and didn't really have to be very precise with how you did the design to make it look good. Please disregard my thumb the black bled a bit.
So for this look I started off with a base coat of my Nail Life in original which is my normal base coat then I picked out a peacock like color for the base color I picked Wet N Wild's Morbid for that. After that dried I started from a corner and made "feather like" stripes with a few different colors before I was satisfied with what my feather looked like. For the stripes I used 4 different colors; Kiss Nail Art Paint - Beach Green, Wet N Wild - Teal of fortune, Nina Ultra Pro - Big Spender, and Sinful Colors - Call you later. After my stripes dried I made the eye part of the feather. Just gold didn't look good for the largest dot and I didn't have an orangey, bronzey, gold ish color so I mixed Nina Ultra Pro's Big Spender with Pure Ice's Really Rio to get the really cool orangey color. For the middle dot I used Revlon's Ocean Breeze and for the last I used Sinful Colors' Black on Black. For the bigger dots I used the end of a paint brush and for the smaller I used my little dotting tool I have.
These are all the colors I used I'm glad I used these colors because I found out that Wet N Wild's Teal of Fortune is an awesome color! Sparkly blues and greens I will definitely be using this in the future!

Thanks for reading and I hope you liked my design! If anyone has any requests for designs please let me know I can always use a little inspiration from others :)

:)
  Kristy

Sunday, April 15, 2012

Arrrr Matey!!

I did these nails a while back for a local pirate fest where I live.We dressed like pirates, spoke like pirates, and acted like pirate so of course my nails had to match the days theme :)


I've been loving the gradient look lately and I know I wanted to do red and black for my pirate look so that's what I did! 


I used three differnt reds and a black for this look first (the brightest red) I use Sally Hanson's Diamonds and Rubies, then Nina Ultra Pro's love struck, then China Glaze's Heart of Africa, and last but not least my Sinful Colors' Black on black. Also for the skull and cross bones design I used Revlon top speed's metallic.


The design was actually pretty easy to do. I just used a tooth pick and free handed it all. I thought It came out pretty cool. I did it on both of my thumbs.


I hope you liked my little treasure of a nail design as much as I did. lol :p Thanks for reading!

:)
Kristy


Saturday, April 14, 2012

Fishtail braids

This morning I did a fishtail braid design on my nails! It was pretty simple and I love the colors I chose.
The only bad part of this manicure is that it layers... and layers... and layers. So parts of your nail have three layers of polish on it at a time. Takes a while to dry. It's the type of design I can only do on the weekends when my husband is available to pick up the baby when she cries. Because of this, I chose to forgo to the base coat and top coat.


Aaannd I put together Pretty in Polish's first tutorial!!

Would you try this design? What colors would you use?

Friday, April 13, 2012

One Direction-inspired

Yesterday, I went over to a friend's house and did her daughters' nails.

The first manicure I gave was band-inspired. Like any other 14-year-old girl, C is obsessed with a boy band. (No, really. She totally knows more about this band than I knew about N'Sync, and that's saying something.) I feel old and out of the loop saying this, but before yesterday, I had never heard of One Direction. (embarrassed!)
While I did her nails, C's little sister put on YouTube videos of One Direction on SNL and on the Today show. It was certainly inspirational. :)
The band consists of 5 guys- four British guys and one Irish guy. So naturally, we did four British flags and one Irish flag.

Once we were done with this hand, we realized we did the Irish flag sideways, so we changed it up to be correct on the other hand. Whoops!

Then, I did C's little sister's nails. M and I looked through photos on Pinterest and she settled on a mani that I had pinned a while back- all white nails with some black dots forming a pretty tribal-type design. We played with the idea a little and came up with this:
It was fairly easy, quick and it turned out really cute! I think I'd like to do something similar to this on my own nails soon. I used a ballpoint pen dipped in a drop of black polish to do the dots.

One Direction nails:
Blue: Sally Hansen's X-Treme Wear Blue Me Away
White: Sally Hansen's French white tip
Red: Maybelline Ultimate Wear Red Hot Rouge
Green: Catrice Cosmetics King of Greens
Orange: Sally Hansen's X-Treme Wear Sun Kissed

Pink and Polka Dots nails:
Pink: Pure Ice: Love
Black: Sinful Colors Black on Black

Love, Cassie

Thursday, April 12, 2012

My first sponging :)

Seems like I'm seeing more and more sponging everyday out there in cyber space it didn't look SO hard so I figured I could do that. Let me tell you it made a MESS! Not quite as bad as mater marbling before i learned to used tape but it still took a while to clean up my nails. And here's the finished product.


I started out with a layer of Sally Hanson's No Hard Feelings and then took my make up sponge and sponged a layer of China Glaze's Royal Tease about half way up. Then followed that up with another sponging layer about a quarter of the way up with Sinful Colors Black on Black. This is a technique you have to practice but after you get the hang of it you can control how much polish goes where and make the gradient look like it really blends into each other. When it was all done I put a coat of China Glaze's Fairy Dust on top (My go to glitter). 


I really love these and will probably wear them for a few days but I have to work tomorrow and my job is not nice to my nails so a new design  should be coming very soon! Thanks for reading!!

:)
  Kristy

Cheetah flowers

I call them cheetah flowers because I messed up.
See, I thought I'd get creative and try a reverse-cheetah print on my nails. I did a google search and couldn't find many pics of this type of design but I did it anyway.
Well, I found out why I didn't find many photos: Because it doesn't look like cheetah print, haha.
It sort of looks like little flowers. So that's what i'm going with- cheetah flowers.
It's not perfect, but it looks ok, I think!


Base: Butter London's "Primrose hill picnic"
Gold spots: Butter London's "Wallis"
White: Sally Hansen's French white tip

Love, Cassie

Tuesday, April 10, 2012

Welcome to Pretty in Polish!

Hi! I'm Cassie, welcome to Pretty in Polish!

I love doing my nails. I've always had long, healthy nails and just love the way they look when they're painted. When I was pregnant with my daughter, I was put on bedrest for a time in my third trimester. I was bored out of my mind and so I started giving myself a new manicure every day or every other day. That sparked my manicure love.

I had always done my nails before this too, of course, and even did fun designs now and again- but the bed rest thing was really my turning point.
Now I'm addicted, and trust me- painting my nails is not an easy addiction to have when I'm also caring for a 7-month-old 24/7!
I'm looking forward to being able to do my baby's toe nails! I'm hesitant now because she loves playing with her feet and I think if she sees pretty colors on them, she'll try to eat them. But soon!

I live in the Stuttgart area in Germany with my husband, our daughter and our dog. I'm a journalist and currently a stay-at-home mama. We recently moved here and I brought along 60+ polishes with me. I did leave a lot with my mom in Florida too. Luckily, only one polish leaked in the luggage, and it was in a plastic baggie so nbd!

My polishes are currently set up on a little organizer shelf on my vanity desk, but I have photo frame/spice rack shelves from Ikea waiting to be installed. I plan to use them for my polishes, we'll see how that turns out!

Like Kristy, I also love brand name polishes- especially OPI and China Glaze, but those are everyone's favorite, right? :) My favorite brand of polish is Butter London. They're non-toxic and don't include formaldehyde, parabens or any other harmful ingredients. They also come in fabulous colors and glide on smoothly, and the colors stay shiny and beautiful!

I'll admit, though, most of my polishes are the cheapies. My favorite cheapie brand is Pure Ice.

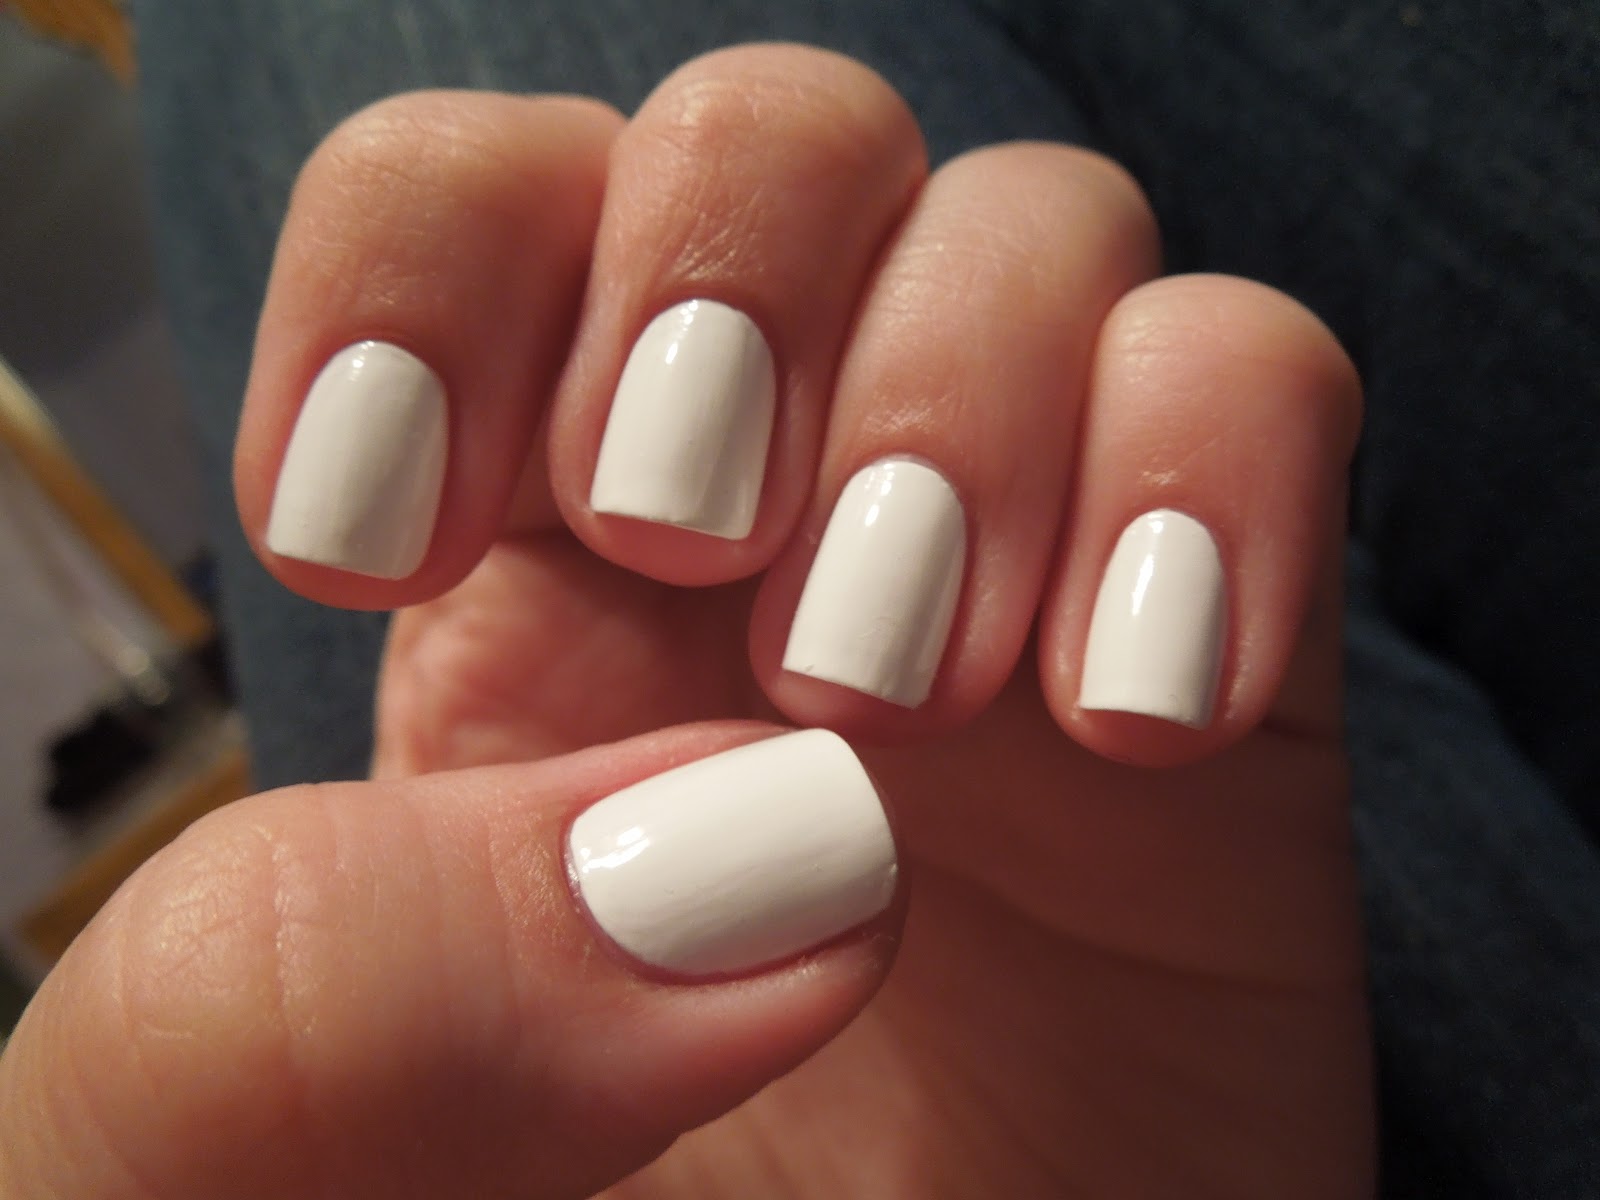
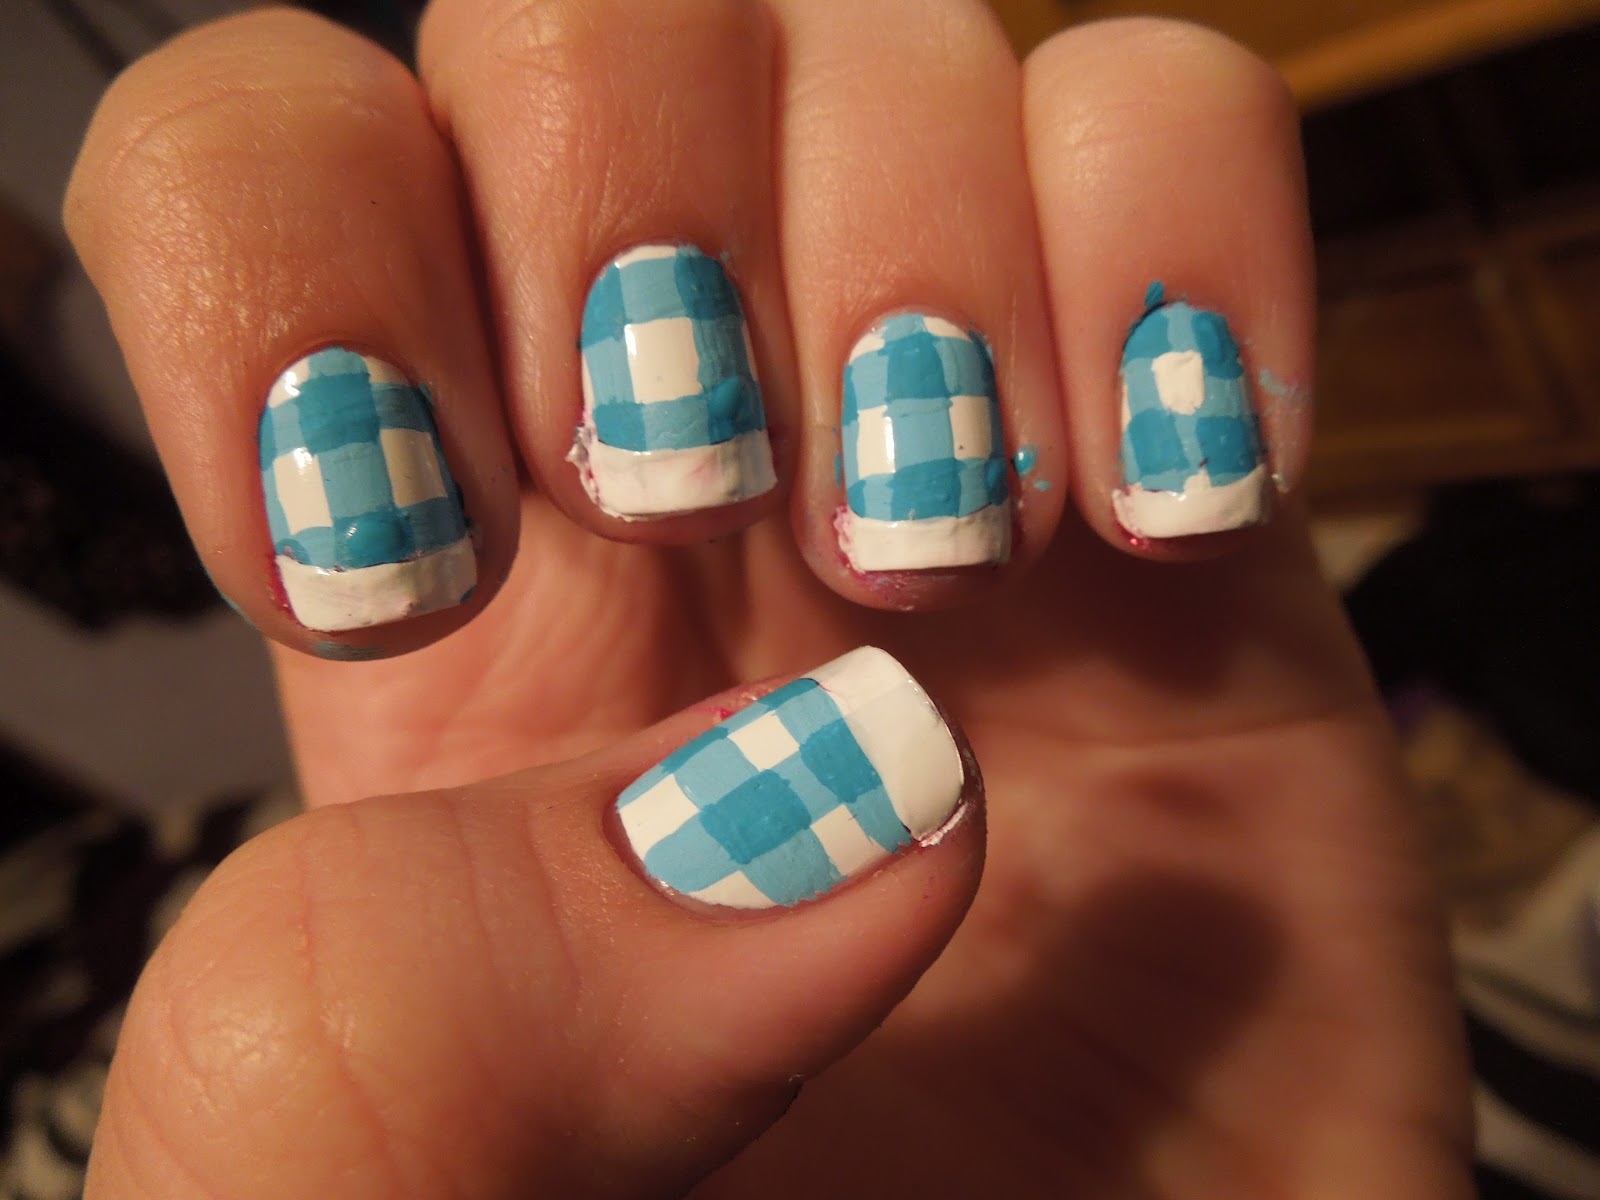
I love doing fun designs and using new colors, and I'll be sure to post often about new manicures!

Love, Cassie

Thursday, April 5, 2012

First One :)

Hi I'm Kristy and I'm half of the pretty in polish blog. I've been doing my nails for as long as i can remember. In elementary school instead of going to recess I was the weird girl who brought her bucket of nail polish out to the playground and did every one's nails. For the past 2ish years I've gotten much more into doing nail art and expanding my polish collection. So for my first post  I thought that it would be a good idea to show off some of my work so that who ever reads it can get an idea of what's to come :)


This is my ever growing collection in my home made nail rack. I'm actually pretty proud of it I had to use a saw and everything!! In the last 2 years-ish I've gotten much more into the "Name Brand" polishes but I'm a sucker for those $.99 polishes too!


This is some of my nail art. By far my favorite thing to do with my nails is to make them little works of art. I haven't perfected it by any means but I'm always trying new designs and techniques which I will be posting on here just as soon as I do my nails again. I'm am going to try my hardest to post as least once a week and since there are two of us you'll get double the posts! I hope that you now know a little bit more about me and my nail style and of whats to come. Thanks so much for reading!


:)
 Kristy