My birthday is July 3- the day before Independence Day. When I was a little kid, my parents would tell me every year that the fireworks all over were for celebrating my birthday. And of course, I believed them for a few years. LOL. So I've always loved fireworks.
I was torn this year between doing my nails birthday themed or America themed. (I know, I have so many problems, right!?) So I chose fireworks- something that for me, signifies both!
I especially love big colorful fireworks, so that's what I did.
I painted a couple coats of Sinful Colors black on black and then picked out a few colors I thought would pop. I was concerned that the non-neon colors wouldn't be as bright- but they worked so well!
I tried different firework-painting techniques. Some I did long lines, others short. Some bent and falling and others going up and spreading. I played around by drawing fireworks on paper with chalk- a super fun 4th of July craft to do with my little girl.
As you might have noticed, I did this design on artificial nails so that I could take photos for my Etsy shop, Finger Candy. You can buy this design over there, if you want! Check out the link to my shop. :)
Black: Sinful Colors black on black
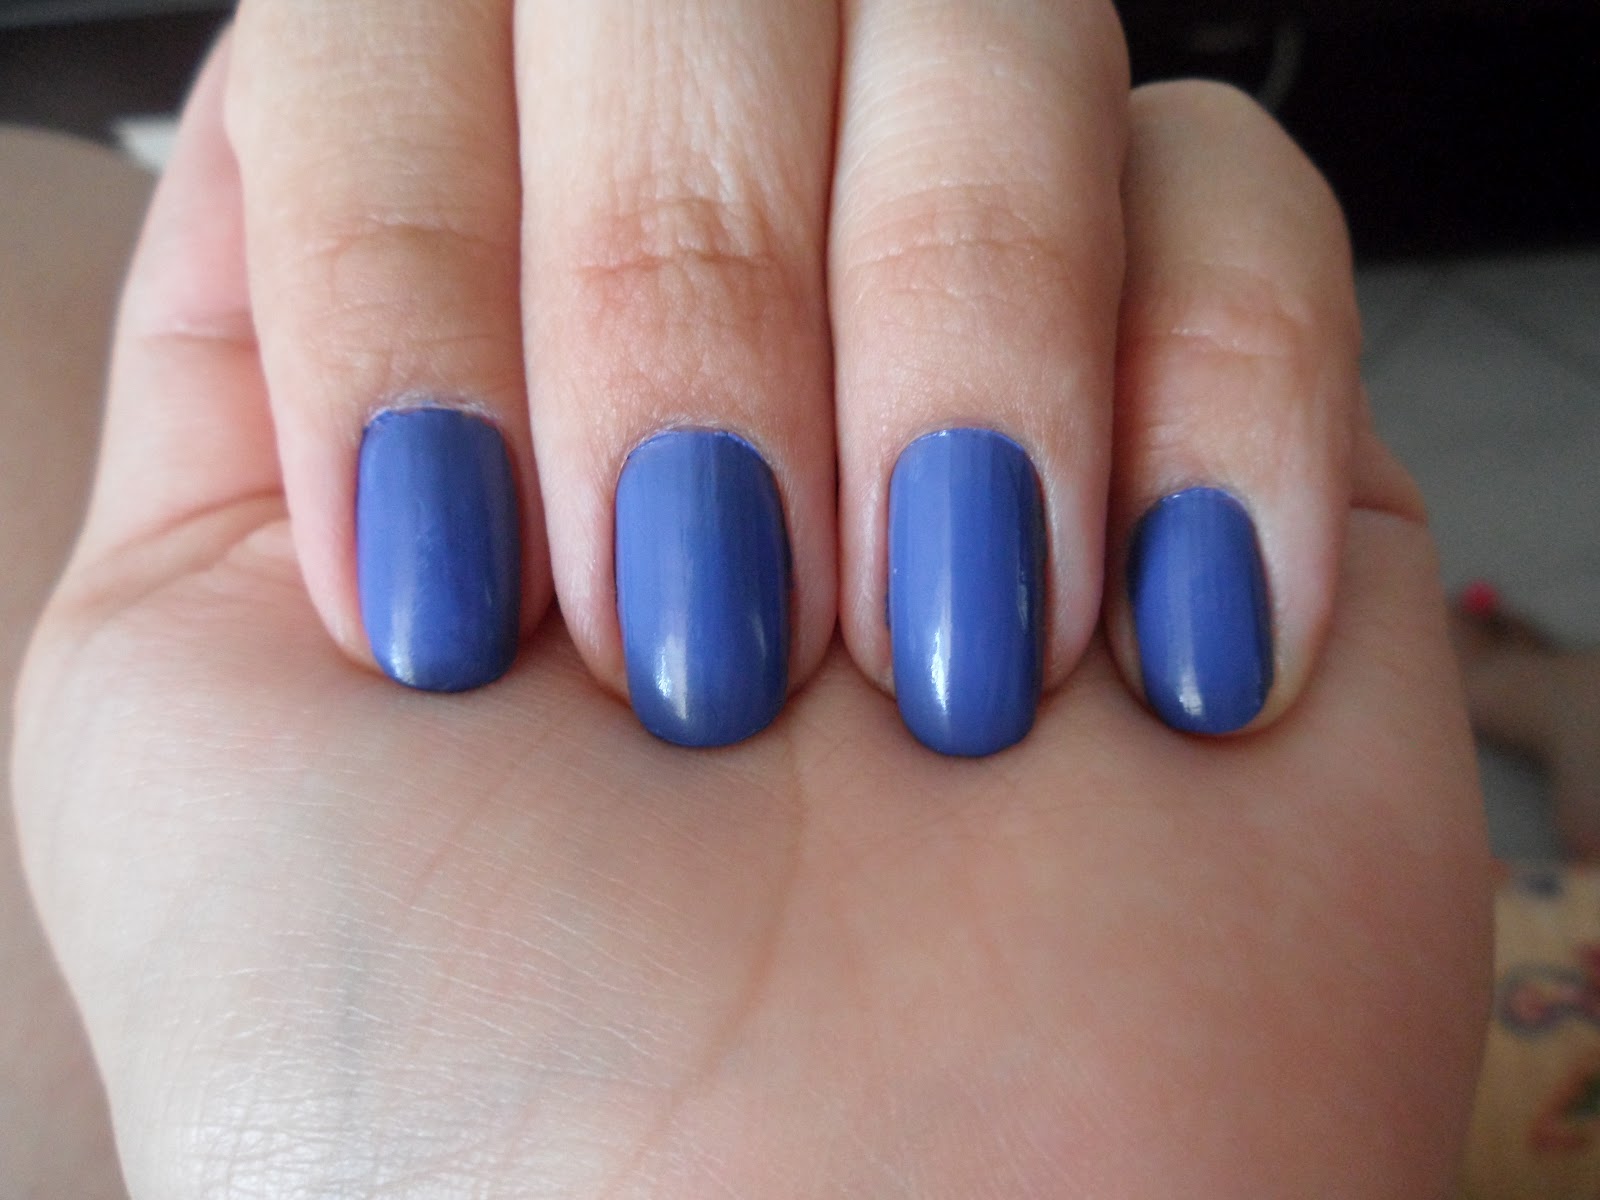
Blue: Sally Hansen Xtreme Wear Blue Me Away
Green: Cosmetica Fanatica neon green
Yellow: Sally Hansen Insta-Dri Lightning
Neon Yellow: Cosmetica Fanatica neon yellow
Purple: Essence Color n Go Passion for Fashion
Orange: Sally Hansen Xtreme Wear Sunkissed
Pink: Cosmetica Fanatica neon pink
Top Coat: Seche Vite
Friday, July 6, 2012
Fireworks!
Labels:
artificial nails,
birthday,
black,
blue,
fireworks,
green,
Independence Day,
neon,
orange,
pink,
purple,
yellow
American flag nails
I also did a 4th of July mani! I actually planned to do fireworks nails for Independence Day (post to come!) instead of flag nails, but I recently bought a really pretty blue color and the mani was inspired from that. It was a really quick, easy mani that I didn't spend too much time on. After all, I do live in Germany, and most people in Germany don't celebrate America's Independence Day... LOL.
So, like I said, I started with this gorgeous cerulean blue color. It's part of Essence's "Ready for Boarding" airline collection, and it's called "via airmail."
Pretty, isnt it?
I then layered two fingers on each hand with a red from Eva Supreme color. I did quick white brush strokes with a French Mani white from Rival de Loop. I was about to draw some stars when I remembered some 3d star glitter I have.
I started with just a few stars on each blue nail, and thought it looked too plain, haha. So I clumped them on heavy trying to achieve a clumpy type of look. It kind of worked. LOL.
I applied the glitter with a clear NYC top coat.
Finished with a couple coats of Seche Vite to lock in the glitter.
This mani took me all of 15 minutes and looked really cute!
Blue: Essence's Ready for Boarding: "Via Airmail"
Red: Eva Supreme lacquer "Flame"
White: Rival de Loop French Manicure White
Top coat: Seche Vite
Happy 4th of July!
Thursday, July 5, 2012
July 4th nails!
So I'm a day late with this post but these techniques can be used for lots of different designs.
These nail where done using a simple technique and I'm sure with a little practice and tome anyone can achieve what I did!
Here's what I used; Seche Rebuild as my base coat, Essie - Boat House as my red, Sinful colors - White on white as my white, China Glaze - Frostbite as my blue and of course Seche Vite as my top coat.
I painted blue over the tips. The tape makes it really easy to paint because you don't have to worry about getting the line perfectly straight.
See pretty cool huh? You want to take the tape off right after you paint your nails because if the paint dries too much then the nice clean line you want will get messed up.
I used tape for the red lines as well. If i where to do this design again I think I would just free hand the lines because I think that would have been easier then cutting up all those pieces of tape because none ended up being the same size.
This is what it looked like with out the tape. Yes it needs to be cleaned up but its not too bad :)
The thought of painting actual stars on my nails did cross my mind but I also thought that little dots would look just as good and I wouldn't rip my hair trying to get all the stars to look the same. I just used a tooth pick for the little dots.
I hope you all had a wonderful safe 4th of July, and I hope I managed to add a little inspiration to your day! As always thanks for reading! Please let me know if you have any requests or techniques you want to see :)
:)
These nail where done using a simple technique and I'm sure with a little practice and tome anyone can achieve what I did!
Here's what I used; Seche Rebuild as my base coat, Essie - Boat House as my red, Sinful colors - White on white as my white, China Glaze - Frostbite as my blue and of course Seche Vite as my top coat.
First start with a base coat of White on White.
Then I used masking tape to tape off the tips just to make a nice clean line across the tip.
I painted blue over the tips. The tape makes it really easy to paint because you don't have to worry about getting the line perfectly straight.
See pretty cool huh? You want to take the tape off right after you paint your nails because if the paint dries too much then the nice clean line you want will get messed up.
I used tape for the red lines as well. If i where to do this design again I think I would just free hand the lines because I think that would have been easier then cutting up all those pieces of tape because none ended up being the same size.
This is what it looked like with out the tape. Yes it needs to be cleaned up but its not too bad :)
The thought of painting actual stars on my nails did cross my mind but I also thought that little dots would look just as good and I wouldn't rip my hair trying to get all the stars to look the same. I just used a tooth pick for the little dots.
I hope you all had a wonderful safe 4th of July, and I hope I managed to add a little inspiration to your day! As always thanks for reading! Please let me know if you have any requests or techniques you want to see :)
:)
Thursday, June 28, 2012
My Take on Chevron Nails
So I like the chevron look, you know the diagonal triangles in stripes on your nails? Ya I'm not sure how to explain it so I'm just going to show you.
See what I mean? Now I did these on the fly so please ignore the slight mistakes but not everyone can be perfect! lol Plus from far away(like most people are when they look at your nails) you cant even tell!
So First I started out with a base coat of China Glaze - Aquadelic One of my favorite colors ever! The stripes are Revolon Top Speed - Royal(another favorite) and I just used a black striper for the black stripes.
Ok so this is how I did it. I used little pieces of tape to tape off the areas I wanted to stay light blue and then painted over it in the dark blue and before it was dry i took off the paint to leave the design.
I don't know if you can tell in this picture or not but the tape I was using didn't really stick that well and it bled a little but that gave me the bright idea to add the black stripe along all of the dark blue. I'm glad I did this because I think it really made the design pop!
These where super easy to do and like I said I did them on the fly and even managed to take pictures while I did them so I know any one can do these! On some fingers I alternated the way I placed the tape, either facing up or down and alternated where exactly I put them. Thats why none of them really look the same. I think next time I'll try to do lots of different colors! maybe a different one on each finger? and I'll use better tape too! There is just SO many posibilities with this design!
Thanks so much for reading and I hope I added a little inspiration to your day!
:)
Wednesday, June 27, 2012
Essence Snow White mani
The movie Snow White and the Huntsman inspired Essence's newest collection- the Snow White collection.
The collection itself consists of seven polish colors— one for each of the seven dwarfs— and three "special effect toppers." I was immediately drawn to the display in the store, but I wasn't thrilled with the seven colors. I did, however, really like two of the three toppers.
I started with TWO layers of a base coat, in this case, I used Seche Base. I recommend two layers of base coat any time you want to apply serious glitter or sparkle to your nail, simply because it protects your nail bed.
Then I used The Color Workshop Nala nail color in Bronze as a base color. I needed two coats of this color to get the pretty mocha-ish color I was looking for.
One coat:
Two coats:
Then I used Essence Special Effect Topper: The Evil Witch to paint 8 of my nails. It took two to three coats of the color on each nail to get the desired effect of the glitter.
I loved how the glitter pieces were large and rounded- you don't often see a glitter polish like that.
Then I painted one nail on each hand with Essence Special Effect Topper: The Huntsman.
What I love about this polish? The glitter flecks were all different shapes and sizes. Plus, it had real glitter in it. It shined and sparkled and looked fabulous.
Look closer...
For both the purple and gold glitter polish, the clear polish was wonderful. It was not goopy or sticky or anything - it glided on nicely and held the glitter in well.
I wore this mani - coincidentally actually- to go see the Snow White movie with some friends. It was good! :)
Base coat: Seche Base
Base color: The Color Workshop Nala nail color in Bronze
Purple glitter: Essence Snow White Collection Special Effect Topper: The Evil Witch
Gold glitter: Essence Snow White Collection Special Effect Topper: The Huntsman
Top coat: Seche Vite
Tuesday, June 19, 2012
YaBaDaBaDooooo Fred Flinstone Nails!
So these nails I did by accident but they came out really cool! I was going for a leopard print but it didn't quite come out like I had imagined. So instead of calling these leopard nails I'm calling them Fred Flinstone nails because that's what they remind me of.
See what I mean? They look similar right? Well at least the colors are kind of similar to me :)
This is what I used to get this design. From left to right; Seche Vite top coat, Maybelline Color Show - Coral Crush, Wet n Wild Megalast - I need a Refresh Mint, and A black striper mine is from color club.
First I did my base coat of Coral Crush. I had just bought this color and had to do something to jazz it up a little and I was thinking why not leopard spots?? It sounded good to me so I took my black striper and made some bracket looking shapes and some dots just randomly through out my nails.
After I did this I picked a contrasting color( I need a refresh mint) and added dots to all of the brackets and I was thinking Tah Dah Leopard! Ehh Not really.
This is what I got not quite the leopard I was going for(next time I'll practice first.) But I still really liked them and the orangey and blue colors reminded me of Fred Flinstone so there you have it! Fred Flinstone nails :)
I hope you enjoyed these pre-historic nails! And I hope I added a little inspiration to your day thanks so much for reading!!
:)
Monday, June 11, 2012
Feather Nails Anyone???
Ok so these may look difficult to do but trust me they are much easier then regular nail art that's for sure!
So this is what I used Started with a base coat of my favorite Nail Life Nail Revitilizer in Original, then I used 2 coats of Sally Hansen Smooth and Perfect in Linen and after I was done I topped it all off with Seche Vite top coat of course! And of course the thing that made this manicure possible feathers!! I picked these up at Micheal's and they are multi colored spotted feathers and they where only a few dollars, I would definitely recommend experimenting with all different colors for this mani!
To start pick out your feathers for your nails. When I bought my bag of feathers I picked the one with the biggest nicest looking feathers in it. This was a mistake! Because you're not going to be putting huge feathers on your nails just little itty bitty ones. So if you go out looking for feathers for your nails I recommend picking the bag with a bunch of little one instead of the bag with a bunch of big ones.
After your first coat of polish dried and you have applied your second before its dry all you do is stick a feather on your wet nail. Easy peasy! You wanna do this to one nail at a time so that the polish stays wet.
I though they looked pretty cool like this but DEFINITELY not practical lol. So you gotta trim them up just take nail clippers or cuticle nippers and cut them off right at the tip. After I did that I let them dry completely and them buffed the tips just to make sure nothing was sticking out anywhere. And when you're all done trimming everything up then apply your top coat. Because the feathers are not completely flat to get that flat shiny polished look your gonna need a couple layers of top coat.
But that's it really nothing to it! Now I experimented with putting a different base color under your nails before putting on the feathers and to get that to look right your gonna have to wait until the color dries and then apply a clear coat of what ever you have handy and then stick the feathers to that. If you stick them directly to the colored polish the feathers get lost and it just doesn't look right.
Thank you so much for reading! I hope I added a little inspiration to your day!
:)
Subscribe to:
Posts (Atom)