I also did a 4th of July mani! I actually planned to do fireworks nails for Independence Day (post to come!) instead of flag nails, but I recently bought a really pretty blue color and the mani was inspired from that. It was a really quick, easy mani that I didn't spend too much time on. After all, I do live in Germany, and most people in Germany don't celebrate America's Independence Day... LOL.
So, like I said, I started with this gorgeous cerulean blue color. It's part of Essence's "Ready for Boarding" airline collection, and it's called "via airmail."
Pretty, isnt it?
I then layered two fingers on each hand with a red from Eva Supreme color. I did quick white brush strokes with a French Mani white from Rival de Loop. I was about to draw some stars when I remembered some 3d star glitter I have.
I started with just a few stars on each blue nail, and thought it looked too plain, haha. So I clumped them on heavy trying to achieve a clumpy type of look. It kind of worked. LOL.
I applied the glitter with a clear NYC top coat.
Finished with a couple coats of Seche Vite to lock in the glitter.
This mani took me all of 15 minutes and looked really cute!
Blue: Essence's Ready for Boarding: "Via Airmail"
Red: Eva Supreme lacquer "Flame"
White: Rival de Loop French Manicure White
Top coat: Seche Vite
Happy 4th of July!
Showing posts with label red. Show all posts
Friday, July 6, 2012
Thursday, July 5, 2012
July 4th nails!
So I'm a day late with this post but these techniques can be used for lots of different designs.
These nail where done using a simple technique and I'm sure with a little practice and tome anyone can achieve what I did!
Here's what I used; Seche Rebuild as my base coat, Essie - Boat House as my red, Sinful colors - White on white as my white, China Glaze - Frostbite as my blue and of course Seche Vite as my top coat.
I painted blue over the tips. The tape makes it really easy to paint because you don't have to worry about getting the line perfectly straight.
See pretty cool huh? You want to take the tape off right after you paint your nails because if the paint dries too much then the nice clean line you want will get messed up.
I used tape for the red lines as well. If i where to do this design again I think I would just free hand the lines because I think that would have been easier then cutting up all those pieces of tape because none ended up being the same size.
This is what it looked like with out the tape. Yes it needs to be cleaned up but its not too bad :)
The thought of painting actual stars on my nails did cross my mind but I also thought that little dots would look just as good and I wouldn't rip my hair trying to get all the stars to look the same. I just used a tooth pick for the little dots.
I hope you all had a wonderful safe 4th of July, and I hope I managed to add a little inspiration to your day! As always thanks for reading! Please let me know if you have any requests or techniques you want to see :)
:)
These nail where done using a simple technique and I'm sure with a little practice and tome anyone can achieve what I did!
Here's what I used; Seche Rebuild as my base coat, Essie - Boat House as my red, Sinful colors - White on white as my white, China Glaze - Frostbite as my blue and of course Seche Vite as my top coat.
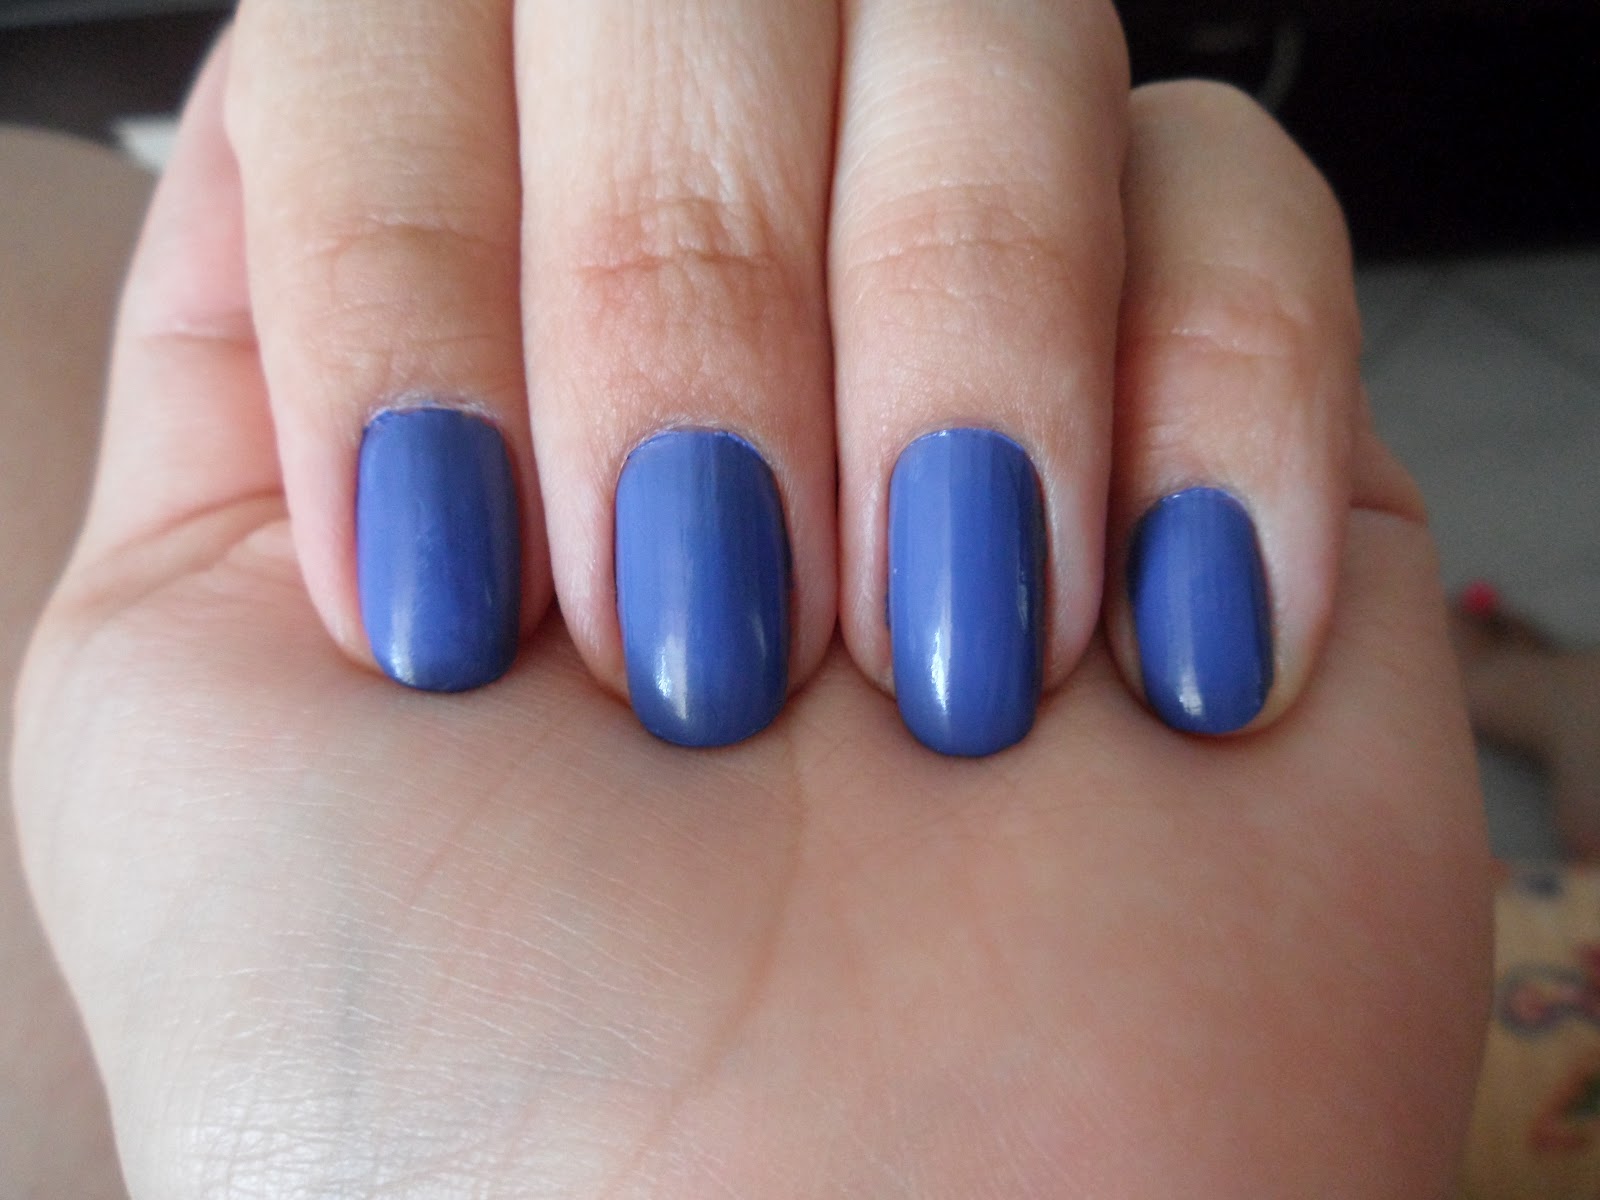
First start with a base coat of White on White.
Then I used masking tape to tape off the tips just to make a nice clean line across the tip.
I painted blue over the tips. The tape makes it really easy to paint because you don't have to worry about getting the line perfectly straight.
See pretty cool huh? You want to take the tape off right after you paint your nails because if the paint dries too much then the nice clean line you want will get messed up.
I used tape for the red lines as well. If i where to do this design again I think I would just free hand the lines because I think that would have been easier then cutting up all those pieces of tape because none ended up being the same size.
This is what it looked like with out the tape. Yes it needs to be cleaned up but its not too bad :)
The thought of painting actual stars on my nails did cross my mind but I also thought that little dots would look just as good and I wouldn't rip my hair trying to get all the stars to look the same. I just used a tooth pick for the little dots.
I hope you all had a wonderful safe 4th of July, and I hope I managed to add a little inspiration to your day! As always thanks for reading! Please let me know if you have any requests or techniques you want to see :)
:)
Wednesday, May 9, 2012
Red French with a bow!
I know I say all of my nail designs are my absolute favorite but these are at the top of the list as of right now! They're a mix of the classic french manicure with a little color and sparkle!
I hope you love these as much as I do! and I hope I added a little inspiration to your life :) Thanks for reading!
:)
Kristy
See aren't they just awesome?!? Well I love them and this is how I did it!
First as always I started with a base coat, I used Nail Life Nail Revitalizer in original as I usually do. Then I started with a 2 coats of Sally Hansen's Smooth and Perfect - 02 Linen.
After that dried completely I used scotch tape to make the red french tip. Normally I use french tip stickers I think from Sally Hansen to make my french line but I just haven't been able to find them in stores lately. A Good tip for using tape is to first stick it to your hand first to remove some of the stickiness so that it doesn't rip off your nail polish that you already have on. I've learned this the hard way! I used Sinful Colors - Ruby Ruby for the red tips.
After my tips where done I added a line of black to them to make them stand out a little I used a stripping brush that I got from an old bottle of polish that I didn't use any more that I just cleaned off with acetone. The black was Sally Hansen Xtreme Wear - 28 Black Out
Then the bow on my thumb which made me just fall in love with them as soon as I added the bow! it was easy to do just two little triangles and I used a little crystal rhinestone for the center of the bow I topped the whole thing off with a Seche Vite top coat just to really make it shine!
I hope you love these as much as I do! and I hope I added a little inspiration to your life :) Thanks for reading!
:)
Kristy
Subscribe to:
Posts (Atom)